Week Seven - Part Two
Saturday 16th March 2002
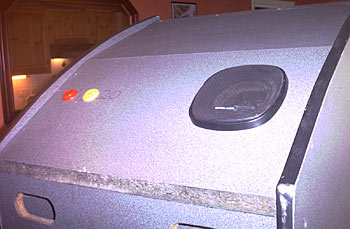
Whilst waiting for the glass to dry, yet more finishing touches were added. Holes were cut for two arcade buttons on the back, which would be used as reset and power switches. Since that is all these are on a standard PC case, they can be wired directly to the motherboard pins.
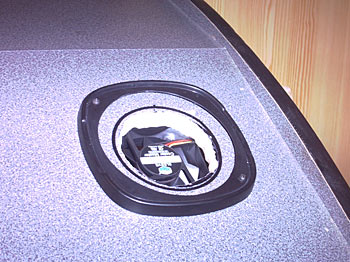
Also on the top of the cabinet, again at the back, a large hole was cut for a case fan, which would draw hot air out of the top of the cab. This would hopefully keep things cool enough inside to allow the monitor, CPU and PSU not to overheat.
You can't play arcade games without any sound, no matter what a few twats will tell you, so the lighting unit got double checked for faults, and two 50W car speakers were put in their correct place. These are mounted on the same wooden board as the strip light, and then attached to a very old stereo amplifier my dad used to have (built in the mid 70s), that was dropped into the cabinet at the back and attached to the soundcard.
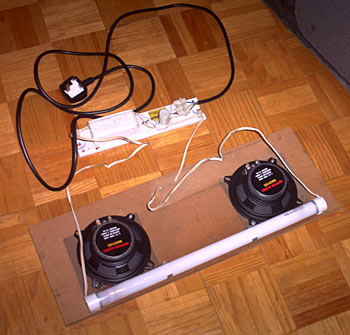
At this point, I should say that this setup sounded absolutely fantastic. Really wonderful loud bassy noise, you could happily listen to music on this. But alas there was a slight problem, the speakers were unshielded and close enough to cause the monitor a bit of distortion.
So I had to order some 2W shielded arcade speakers from Happs, and the fantastic sound was gone. However, oddly enough, it is a bit more authentic sounding now on old classics, and the volume is ample on the new ones.
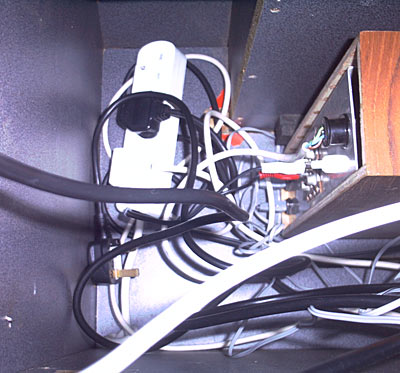
One other minor gripe is this amp is rather old, and suffers from crackling sometimes if left soundless for half an hour. Probably a dry capacitor or two, but it isn't that bad with low volumes (such as it is being used here), so I haven't fixed it, yet.
Also chucked in the bottom of the cab is a gang socket, because everything needs power, from the lighting unit, to the monitor, to the amp, and of course the pc that runs it all.
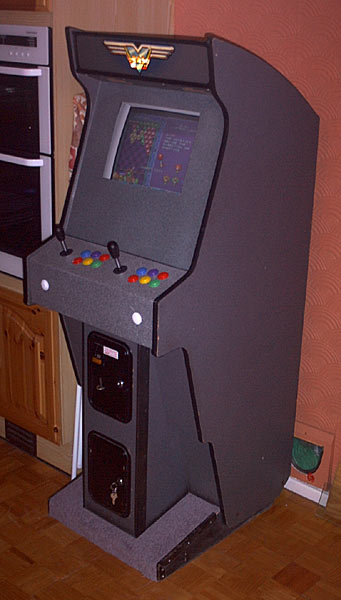
And here we have it, the finished cabinet!
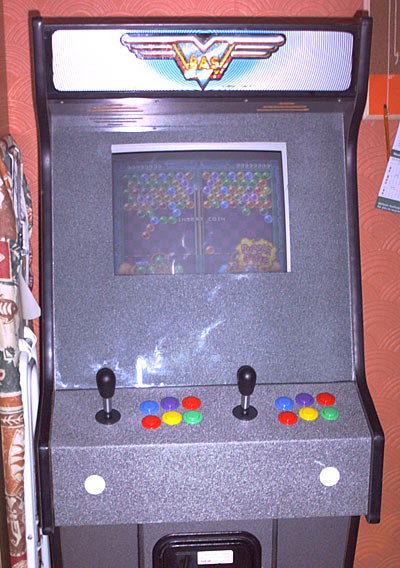
You can't see much of the monitor casing when viewed at the right height, it is a bit exaggerated in the picture here, due to the angle and flash photography.
The glass matches the control panel nicely, the whole thing really is just what I imagined it to be.
I learnt a lot from making it, and a few months after I made a nice MAME marquee with the aid of some special paper and an A3 ink jet printer. But I'll save that for the next and final page on this project.