Week Six
Sunday 10th March 2002
This is it, the big one, the shake down, the... quit repeating everything I say will ya! We could have been anything that we wanted to be, and we wanted to be a MAME arcade cabinet. Today we would become that cabinet.
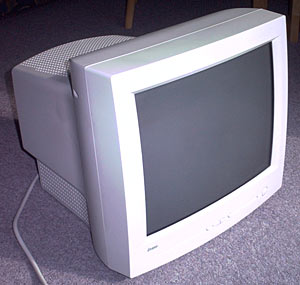
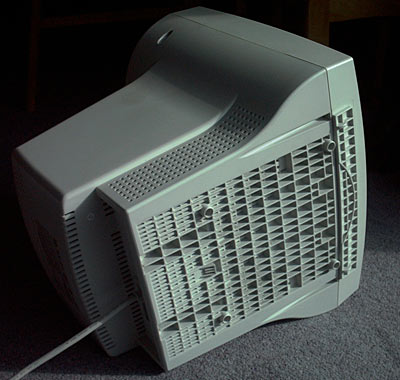
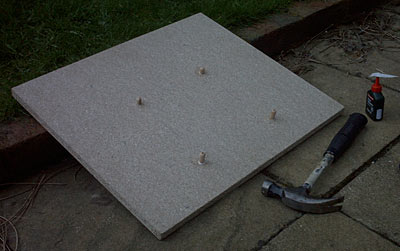
The first job of the day was the monitor shelf. I could have got hold of an arcade monitor, but they were expensive and it would mean some higher resolution games wouldn't be usable, plus it would complicate matters further. So I took a spare 17" monitor (with plans to upgrade it to a larger model at a later date) and marked out on a pre-cut piece of chipboard, places for wooden dowelling which would line up with holes in the plastic monitor casing.
The plan for this would be, dowels slot into monitor, and monitor doesn't go sliding about all the time. In fact this worked out really well, and you have to get the cabinet well beyond 45 degrees before worrying about removing the monitor for transport.
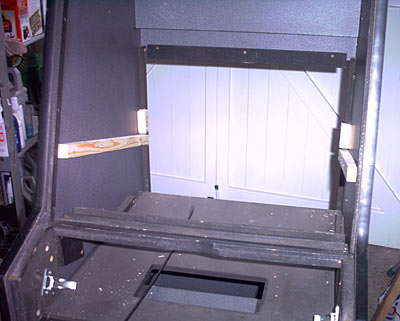
Once that job was done, wooden brackets were screwed and glued to the cabinet sides to hold the shelf, with two small vertical brackets there for preventing the shelf from sliding too far back.
Next up, time to install all those loverly new buttons and joysticks I spent a few quid on, fixing them to the now fully dried respray job that is the control panel.
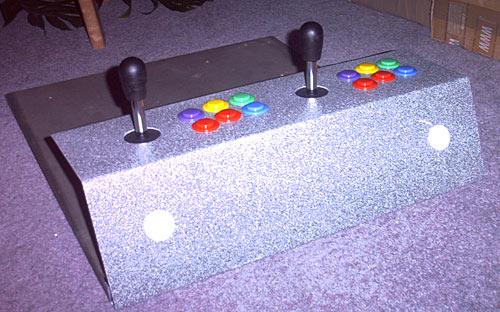
Doesn't that look sexy! Hard to believe it is the original panel, what with the new spray job and a nice selection of coloured buttons to boot.
The important thing to note here is the way the control panel is attached to a wooden board that slides into the cabinet. In the picture further up this page showing the monitor brackets, you can see this board slid in, although the control panel is folded down out of shot. The panel is securely latched when in use, to prevent any access from the front to the innards.
Because of this, I made what I like to call a design decision. Rather than putting a PC case inside the cabinet, restricting airflow to the components even further, why not attach the PC to this board and let the air flow freely over all and sundry.
I think a possible downside of this design might be that vibrations from heavy joystick usage might work themselves down to the hard drive, however since the control panel is extremely firmly bolted to the retaining blocks, so these vibrations are actually not much worse on this board than anywhere else on the cabinet.
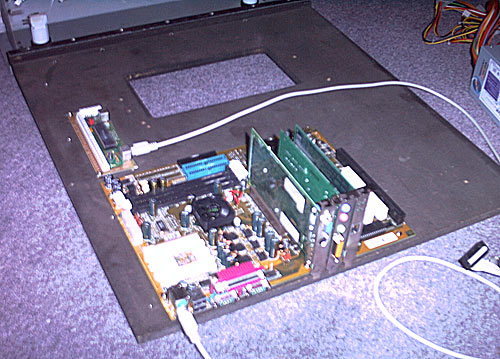
Here is the partially built PC, with the motherboard and interface for the joysticks already mounted. Forgive the poor image quality, but the digital camera I had at the time wasn't the best at focussing.
The absolute best option for interfacing arcade sticks and buttons with a PC has to be the I-PAC from Ultimarc. Accept no substitutes, they are excellently priced, very well made, easy to program, and basically turn joystick inputs into key presses. Perfect for MAME users, like me!
Somewhere in between this and the next two pictures (which is much later on in the build, and taken inside the cab itself), I added the PSU and HD, using blanking plates (and a drill) to mount the hard disc and power supply to the wooden board.
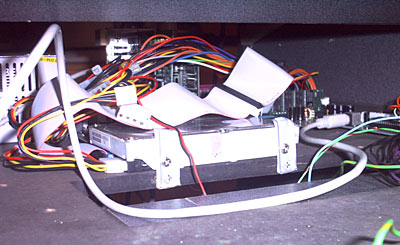
I also added a wooden block to add a bit of mutual support for the PCI cards, since there is no frame for them to attach onto.
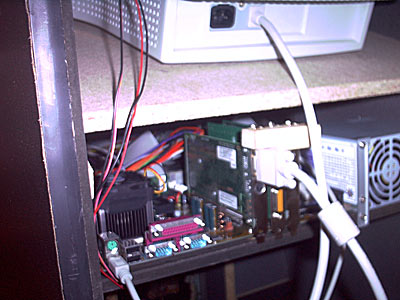
Getting near to a working cabinet now! Hurrah!